

Considerations
When creating a plugin proxy, consider the following:- If there are multiple matching URL prefixes with overlapping header keys, the more specific (i.e. longer) prefix rules will be used.
- If a request from the plugin is invoked with header keys that overlap the proxy ruleset, the request-specific header values will be used.
Creating a plugin proxy
Users with theEdit Plugin Proxies permission can create a plugin proxy.
If you are using a proxy with sensitive information, such as an access token, first follow the steps to create a secret for the proxy.
- From the main sidebar, select Plugins.
- In the upper-right corner, click Create proxy.
- Do the following:
- Under Proxy name, enter a human-readable name for the proxy (required).
- Under Path, enter a unique identifier made of letters, numbers, and/or hyphens for the proxy (required).
- In the URL prefixes section, click Add URL to configure URL prefixes to apply rules to requests going through this proxy (required). All requests passing through this proxy that match the URL prefix will have a set of rules applied.
- Optionally, click Add header to configure a header for the URL.
- If you are using a proxy with sensitive information, you can use mustache templating to reference a global secret by tag, e.g.
{{secrets.my_auth_token}}.
- If you are using a proxy with sensitive information, you can use mustache templating to reference a global secret by tag, e.g.
- Optionally, click Add header to configure a header for the URL.
- Click Create proxy.
Example plugin proxy configuration
Example plugin code
X-GitHub-API-Version and Authorization headers, with the Authorization header value interpolated to include the github_read_token secret if it exists in your Cortex workspace.
Managing plugin proxies
You can view your plugin proxies in Plugins > Proxies.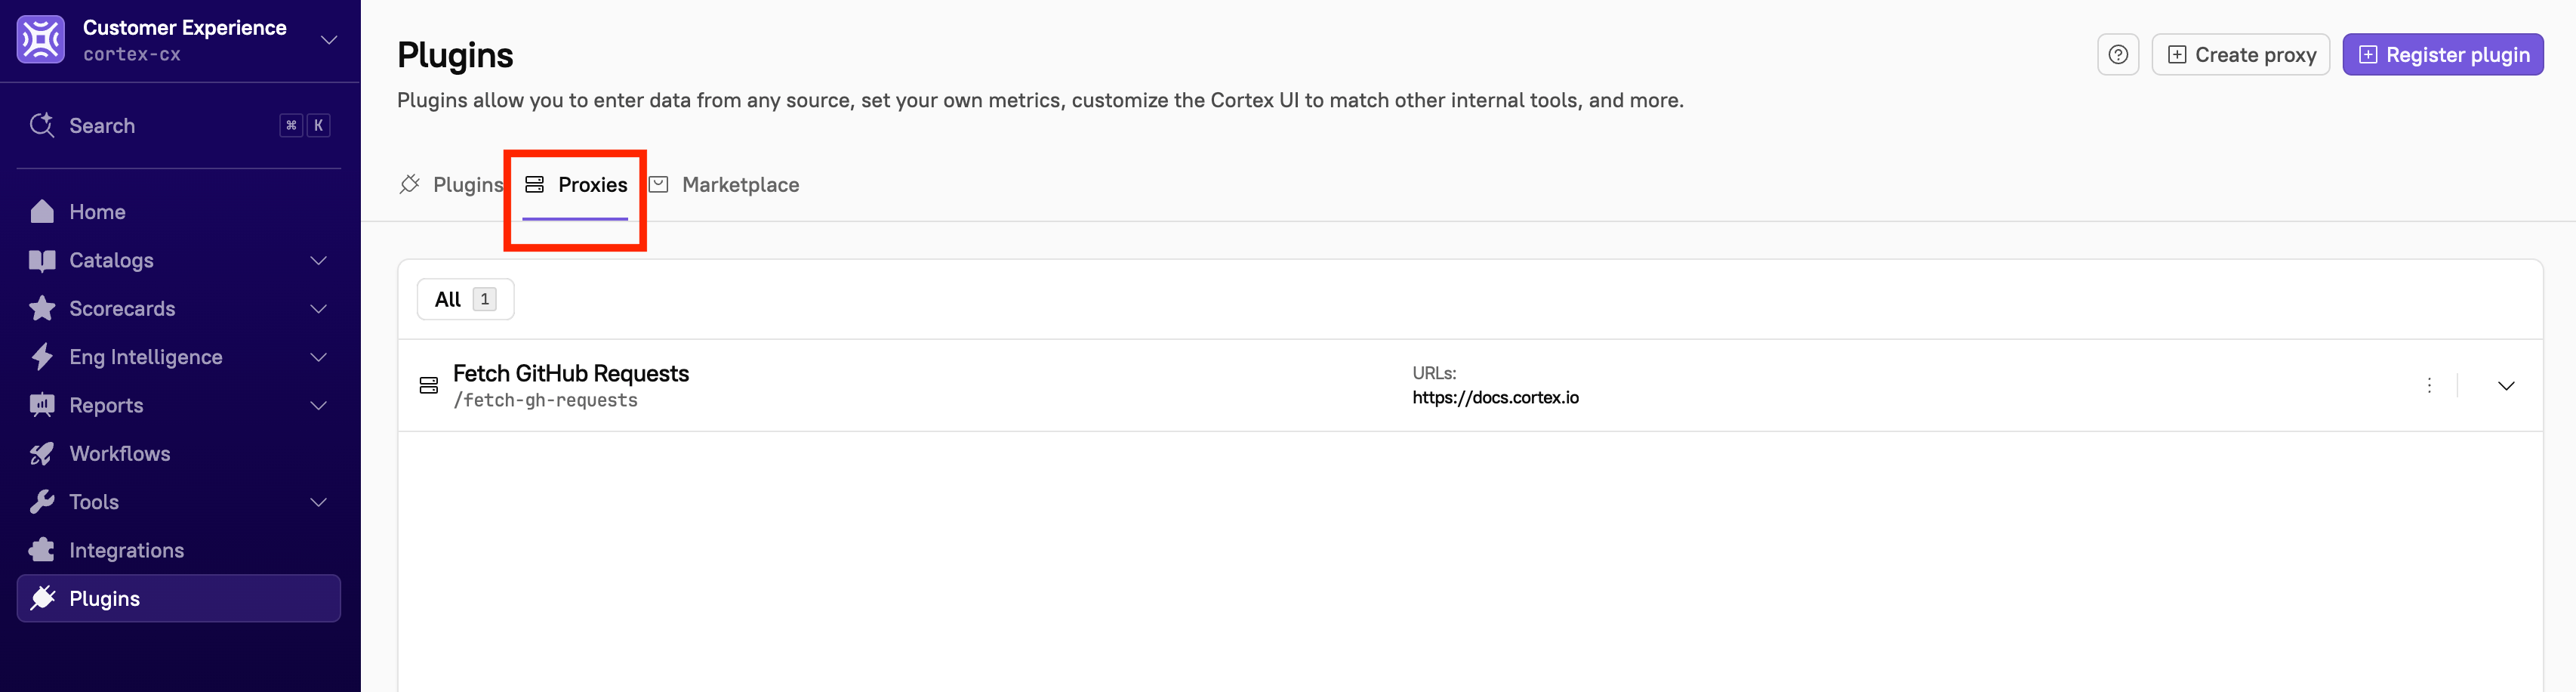
Editing a plugin proxy
Users with theEdit Plugin Proxies permission can edit a plugin proxy.
- From the main sidebar, select Plugins.
- Select the Proxies tab.
- Locate the proxy you want to edit, then click the Overflow menu.
- Select Edit proxy.
- Make your changes, then click Save proxy.
Deleting a plugin proxy
Users with theEdit Plugin Proxies permission can delete a plugin proxy.
Cortex does the following when a plugin proxy is deleted: checks if the proxy exists and if it’s in use, deletes all headers for the proxy’s URLs, flushes the header repo, deletes all URL configurations, removes any secret usages, and finally deletes the proxy entity itself.
- From the main sidebar, select Plugins.
- Select the Proxies tab.
- Locate the proxy you want to delete, then click the Overflow menu.
- Select Delete proxy. The Confirm proxy deletion window opens.
- Click Delete.