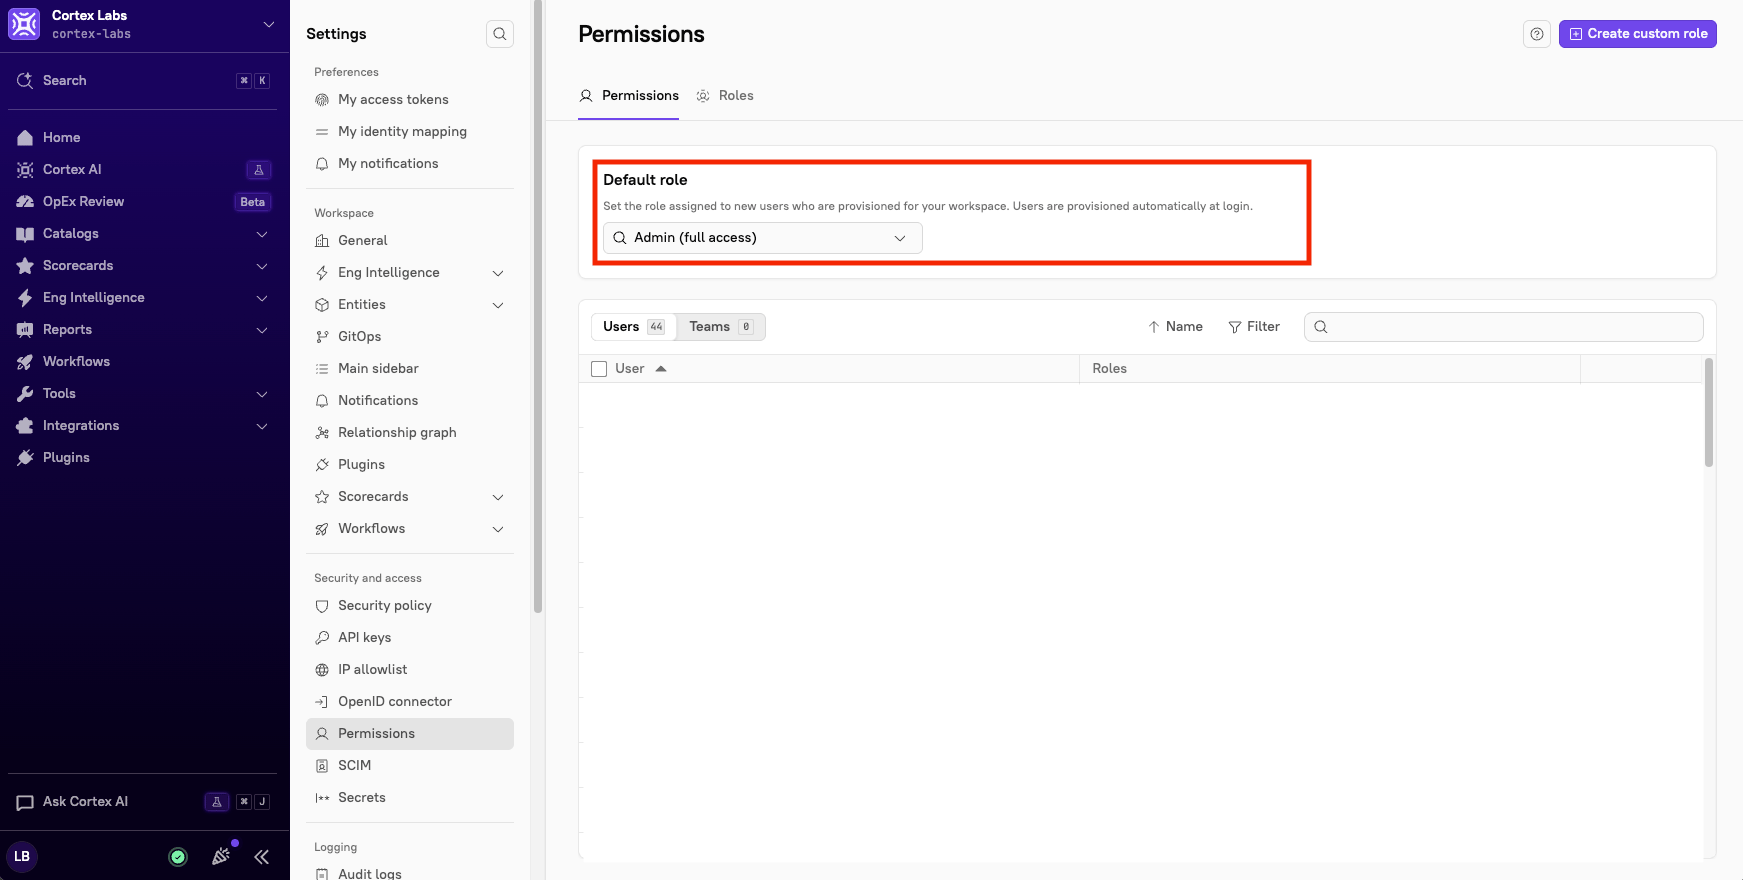
Accessing the Permissions page
- From the main sidebar, click your avatar in the bottom-left corner.
- Select Settings.
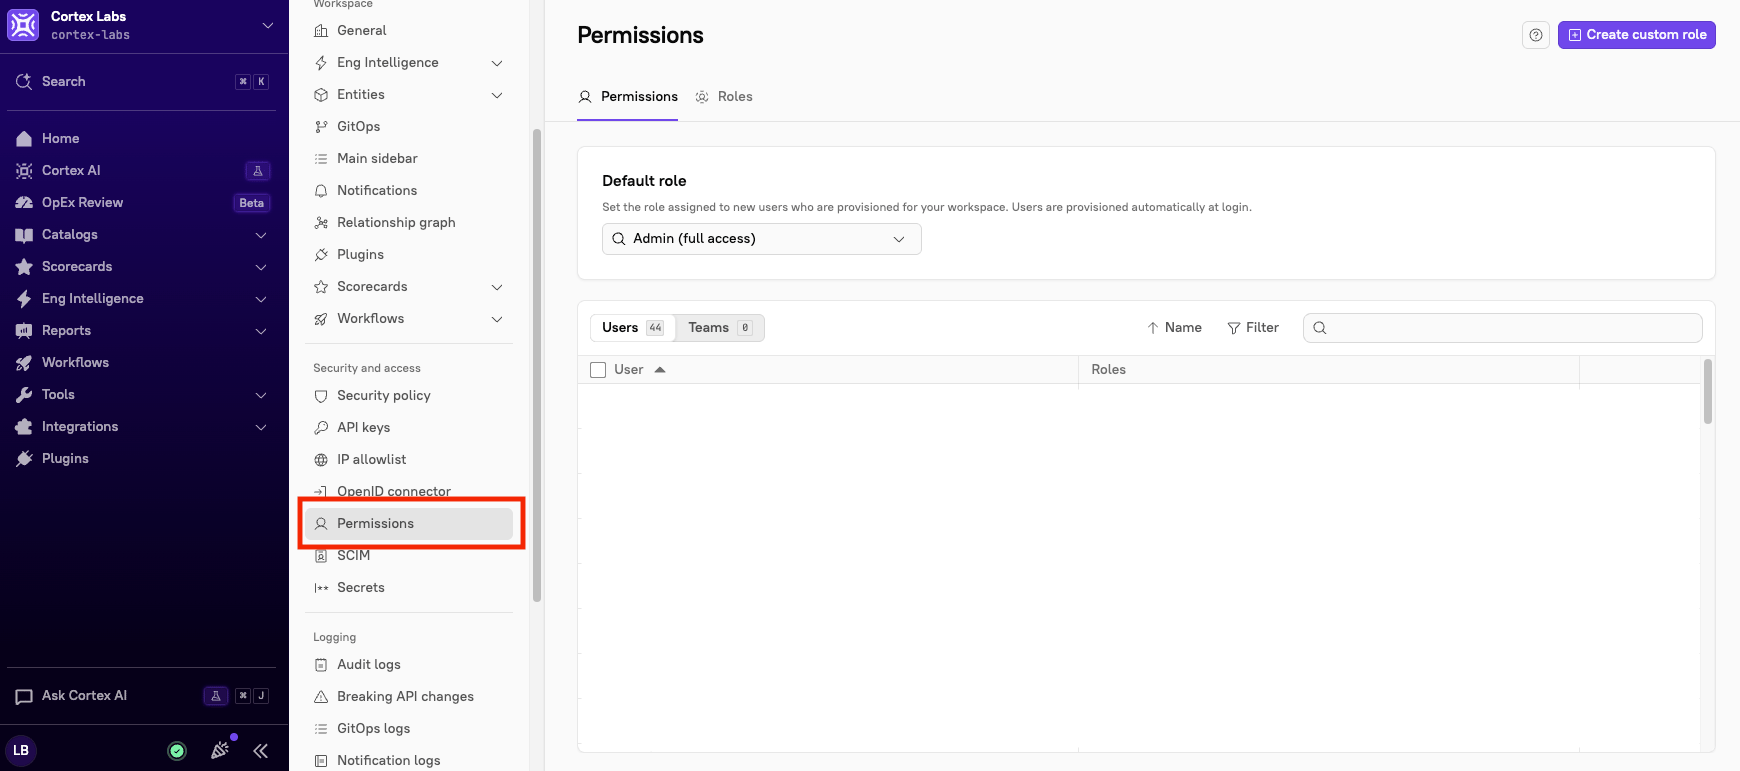
- From the Settings menu, locate the Security and access section, then click Permissions. The Permissions tab opens by default. It shows the Default role for your workspace at the top, followed by a list of users and teams.
Finding a user or team
Select Users or Teams above the list to switch between them. Each row shows the user’s or team’s current roles.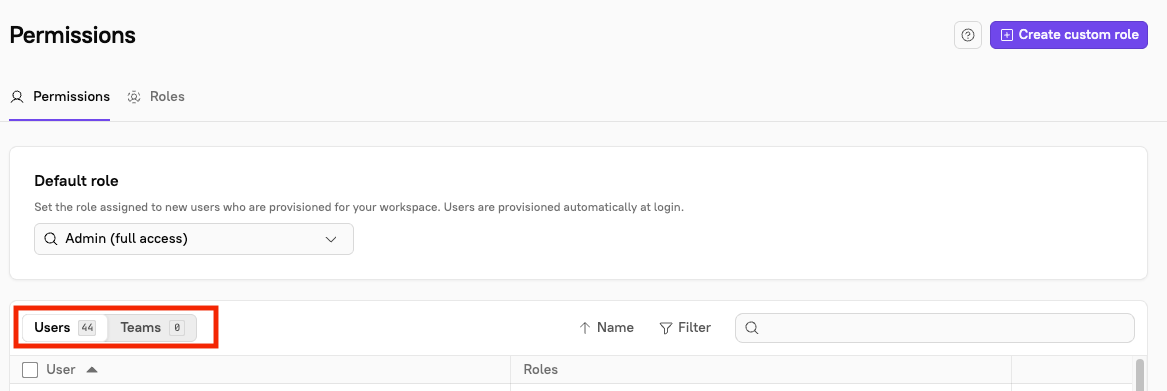
- Search - Type a name in the search box in the upper-right corner of the list.
- Filter - Click Filter, choose Last login or Role, set your filter, then click Apply.
- Sort - Click Name to sort the list alphabetically.
Adding or removing roles for a user
Use the edit side panel to add roles, remove a single role, or clear all of a user’s roles. You don’t need to reselect the roles you want to keep.- On the Permissions tab, select Users.
- Locate the user, then click the pencil icon in their row.
- In the side panel, do any of the following:
- To add a role, use the Add a role dropdown.
- To remove a single role, click Remove next to that role under Assigned roles.
- To remove all roles at once, click Remove all.
- Click Save changes.
Every user needs at least one role. If you remove all of a user’s roles, add at least one role back before you save.
Adding roles to multiple users
- On the Permissions tab, select Users.
- Select the checkboxes next to the users you want to update.
- In the toolbar that appears at the bottom of the list, click Roles, then select Add roles.
- In the Add roles to users side panel, choose an option:
- Add to existing roles - Keeps each user’s current roles and adds the roles you select.
- Replace existing roles - Removes each user’s current roles and replaces them with the roles you select.
- Select one or more roles from the dropdown.
- Click Add and save.
You can’t remove a single role from several users at once, because the same role may not apply to everyone you selected. Instead, edit each user individually, or use Replace existing roles and select only the roles they should keep.
Assigning roles to a team
When you assign a role to a team, every team member gets that role’s permissions. People who join the team later get them automatically, too. This is a quick way to give the same access to everyone on a team without updating each user. To assign roles to a single team:- On the Permissions tab, select Teams.
- Find the team, then click the pencil icon in its row.
- In the side panel, do any of the following:
- To add a role, search for and select it under Add a role.
- To remove a single role, click Remove next to that role.
- To remove every role at once, click Remove all.
- Click Save changes.
- On the Permissions tab, select Teams.
- Select the checkboxes next to the teams you want to update.
- In the toolbar that appears at the bottom of the list, click Roles, then select Add roles.
- Choose Add to existing roles or Replace existing roles, then select one or more roles.
- Click Add and save.
Setting the default role for new users
The default role is the role Cortex assigns to each new user when they log in for the first time. Choose a role with the least access most people need, then add more roles to individual users or teams as needed.- On the Permissions tab, find the Default role section at the top of the page.
- Select a default or custom role from the dropdown.