

On-call Assistant only works for service-level PagerDuty registrations, since these notifications are related to affected services. Refer to this article for more information.
How On-call Assistant notifications are sent in Slack
When a PagerDuty incident is triggered, Cortex identifies the responsible on-call user and notifies them in Slack. The alert includes information about the affected entity, deploy details, and ownership information. A direct link is included to view the alert in PagerDuty, so the incident can be quickly assessed from its source. Individual users - On-call Assistant sends a direct message (DM) to the on-call user. Users don’t need to install the Cortex Slack app or select a channel. Cortex looks up the user’s Slack account using the email address on their Cortex account, then sends the DM directly. The only requirement is that the user’s email in Cortex matches their Slack workspace email. Teams - Notifications are sent to the Slack channel or channels configured on the entity.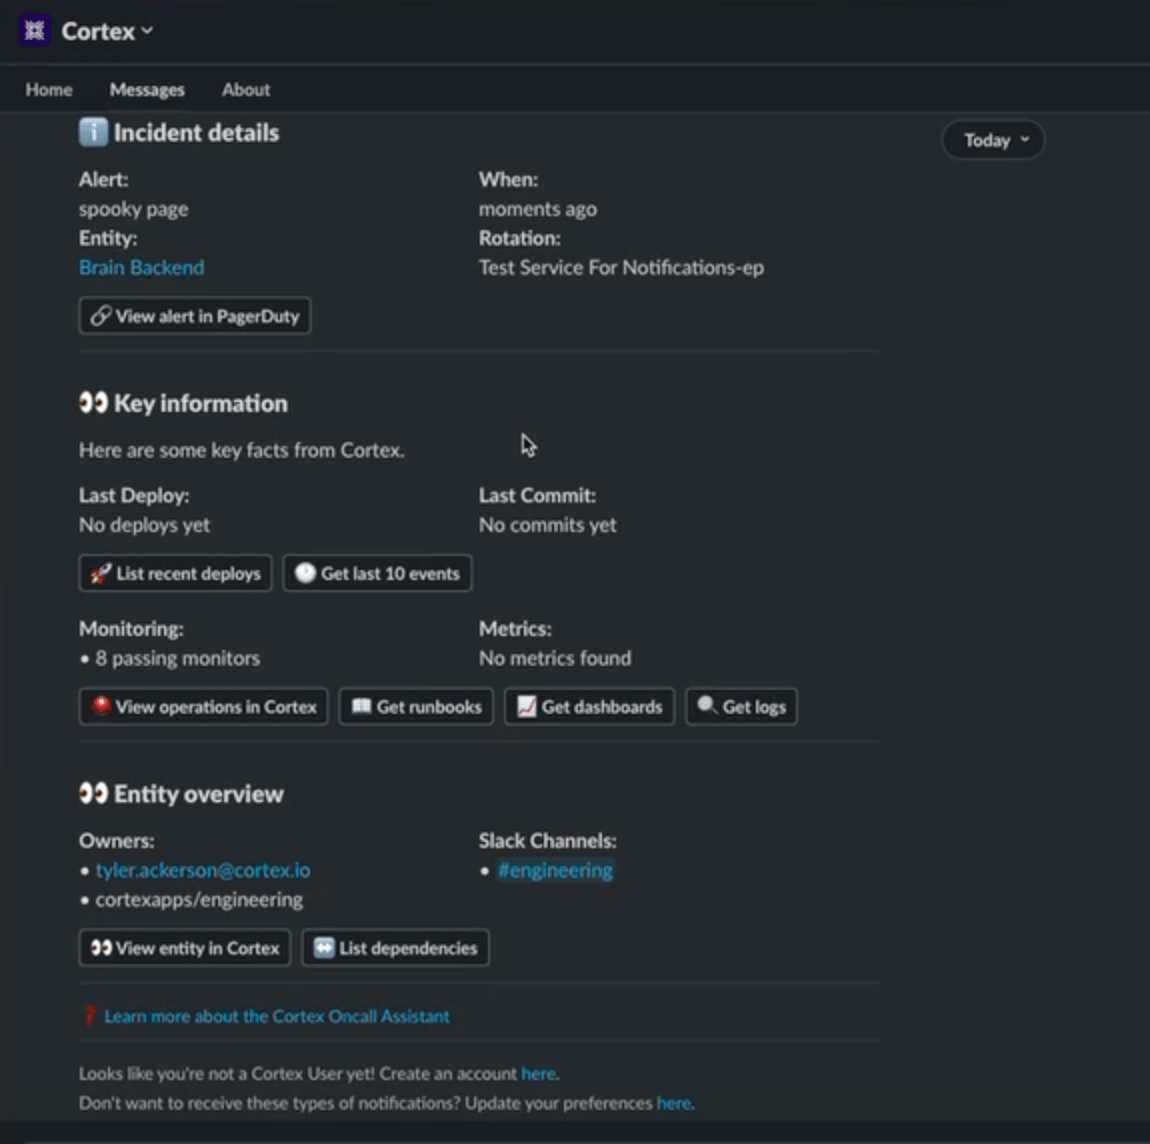
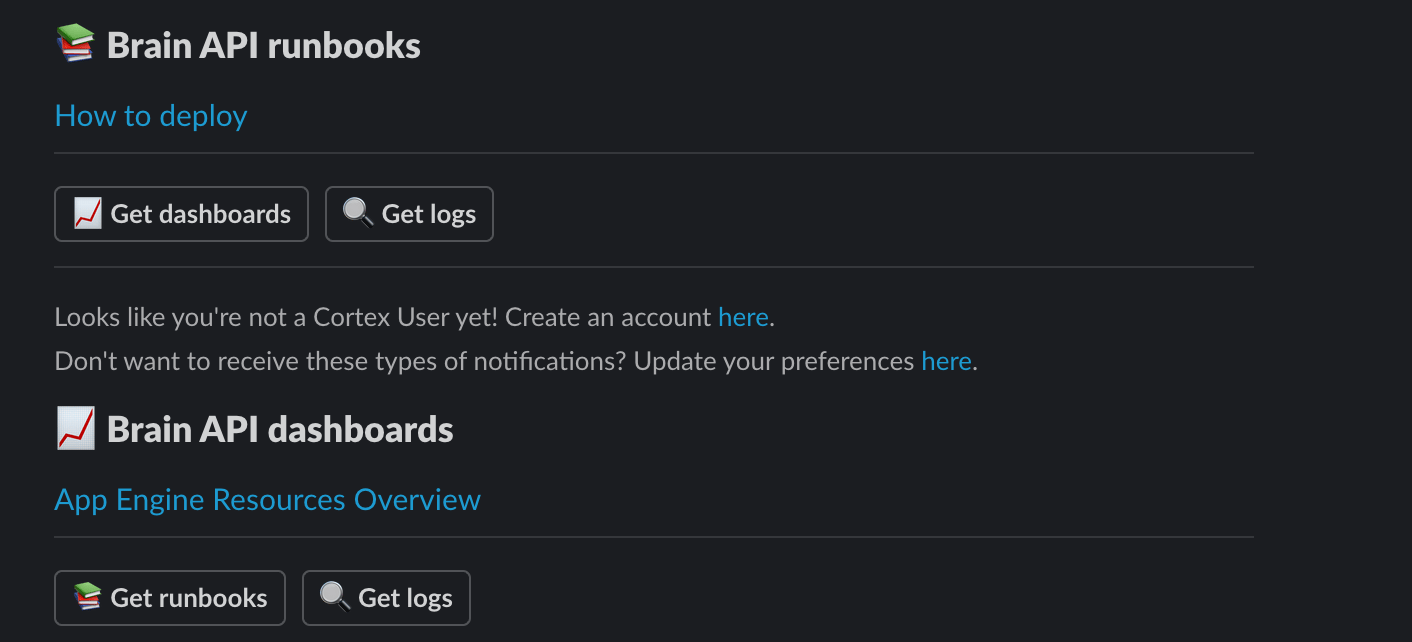
Viewing runbooks and other links
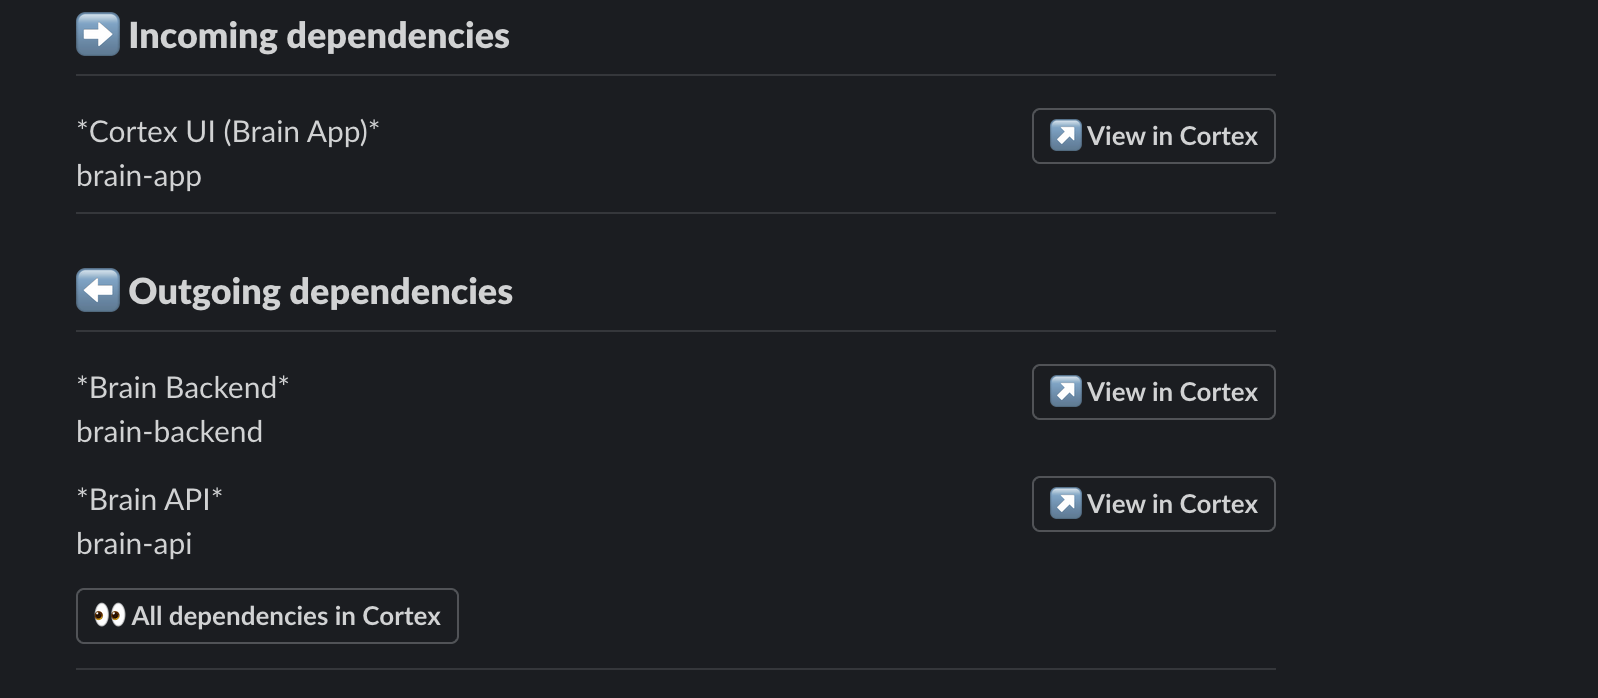
Viewing dependencies
Enabling On-call Assistant
Prerequisites
- An API key in PagerDuty with the
Writepermission.- If you choose to bypass this prerequisite and create an API key with
Read-onlypermissions, you also need to configure a webhook to get the On-call Assistant working.
- If you choose to bypass this prerequisite and create an API key with
- The PagerDuty integration must be configured.
- If using an API key with
Read-onlypermission, be sure to toggle on Read-only API key in the PagerDuty side panel..png?fit=max&auto=format&n=fKqTUx7McPYDap8G&q=85&s=76a1b11307c2324842ec13f00c2b04fb "Pagerduty Side Panel (1)")
- If using an API key with
- If sending notifications to teams, Slack channels must be configured on the entity.
Enabling On-call Assistant in Cortex
- From the main sidebar, select Integrations.
- Locate PagerDuty, then click Settings.
-
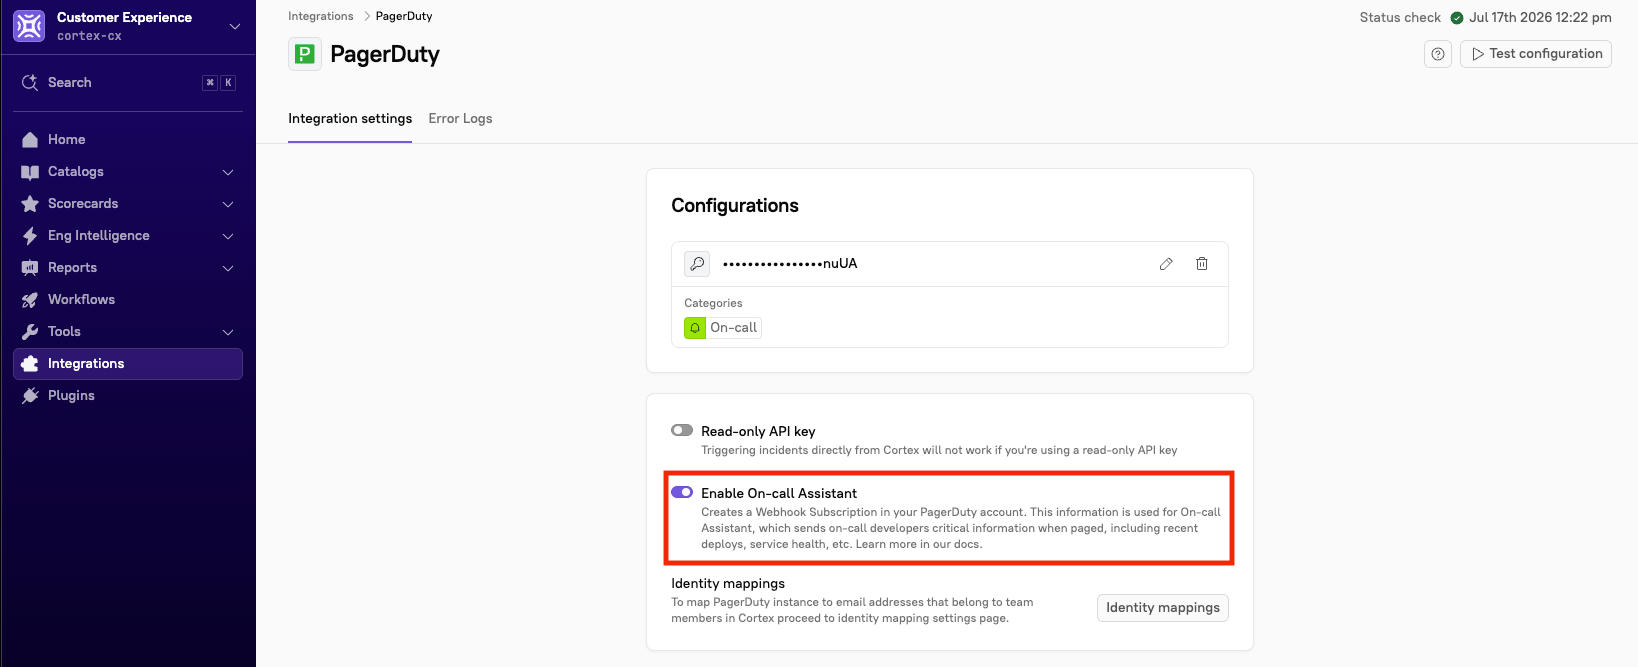
Toggle on Enable On-call Assistant.
Configuring a webhook for read-only API keys
If your PagerDuty API key hasRead-only permissions, you must also configure a webhook subscription.
Step 1: Enabling On-call Assistant in Cortex
- From the main sidebar, select Integrations.
- Locate PagerDuty, then click Settings.
- Toggle on Enable On-call Assistant. The Configure webhook side panel opens.
- In PagerDuty, add a new webhook:
-
Under Webhook URL, paste the Cortex webhook URL. The Cortex webhook URL can be found in the Configure webhook side panel.
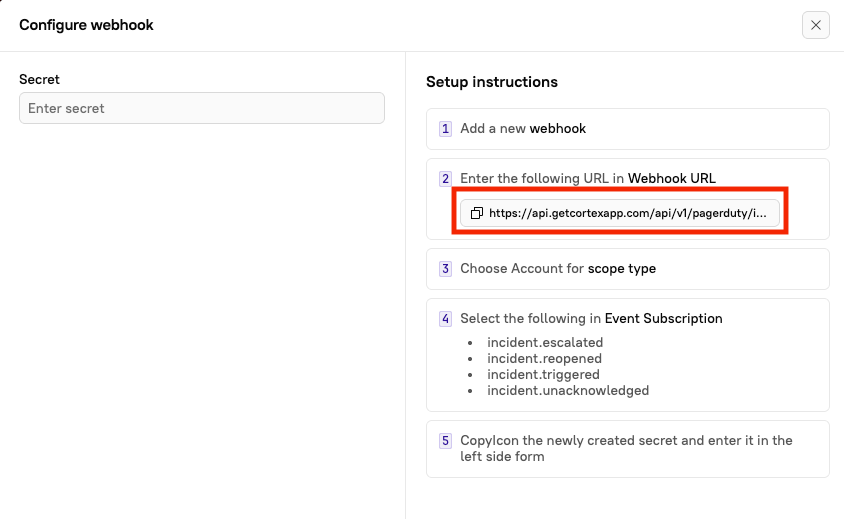
- From the Scope type dropdown, select Account.
-
Under Event Subscription, clear all checkboxes EXCEPT:
incident.escalatedincident.reopenedincident.triggeredincident.unacknowledged
- Click Add webhook. The Webhook subscription created window opens.
- Copy the webhook secret. Don’t skip this step! You’ll need the webhook secret to complete the setup.
- Click OK.
-
Under Webhook URL, paste the Cortex webhook URL. The Cortex webhook URL can be found in the Configure webhook side panel.
- Go back to the browser window where your Cortex instance is open.
-
In the Configure webhook side panel, paste the webhook secret in the Secret field.
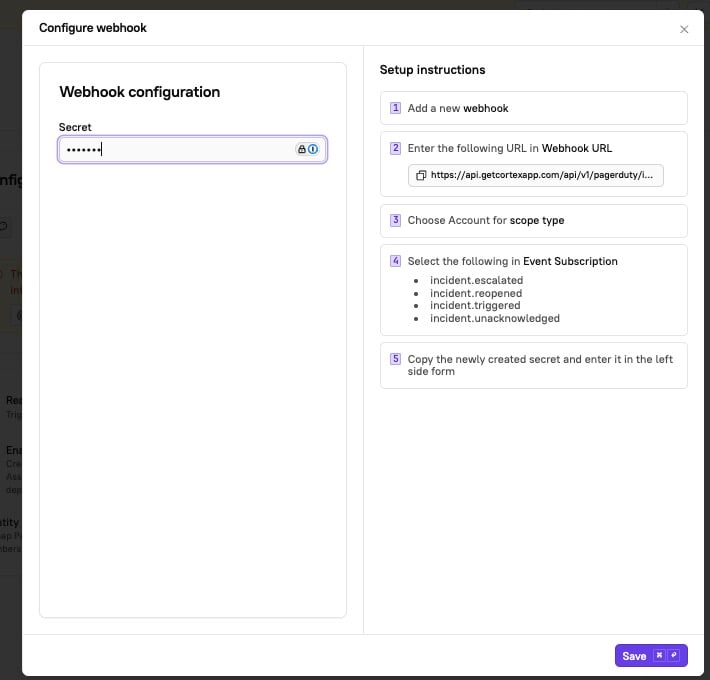
- Click Save.