

- Links - Any URL—e.g. runbooks, tech specs, dashboards, health checks—or custom types you define
- Git-driven markdown - Markdown files from your repo, embedded automatically
- API specs - OpenAPI/Swagger or AsyncAPI specs, rendered in a built-in API explorer
- Dashboard charts - Embedded charts from Datadog, Grafana, New Relic, or other sources
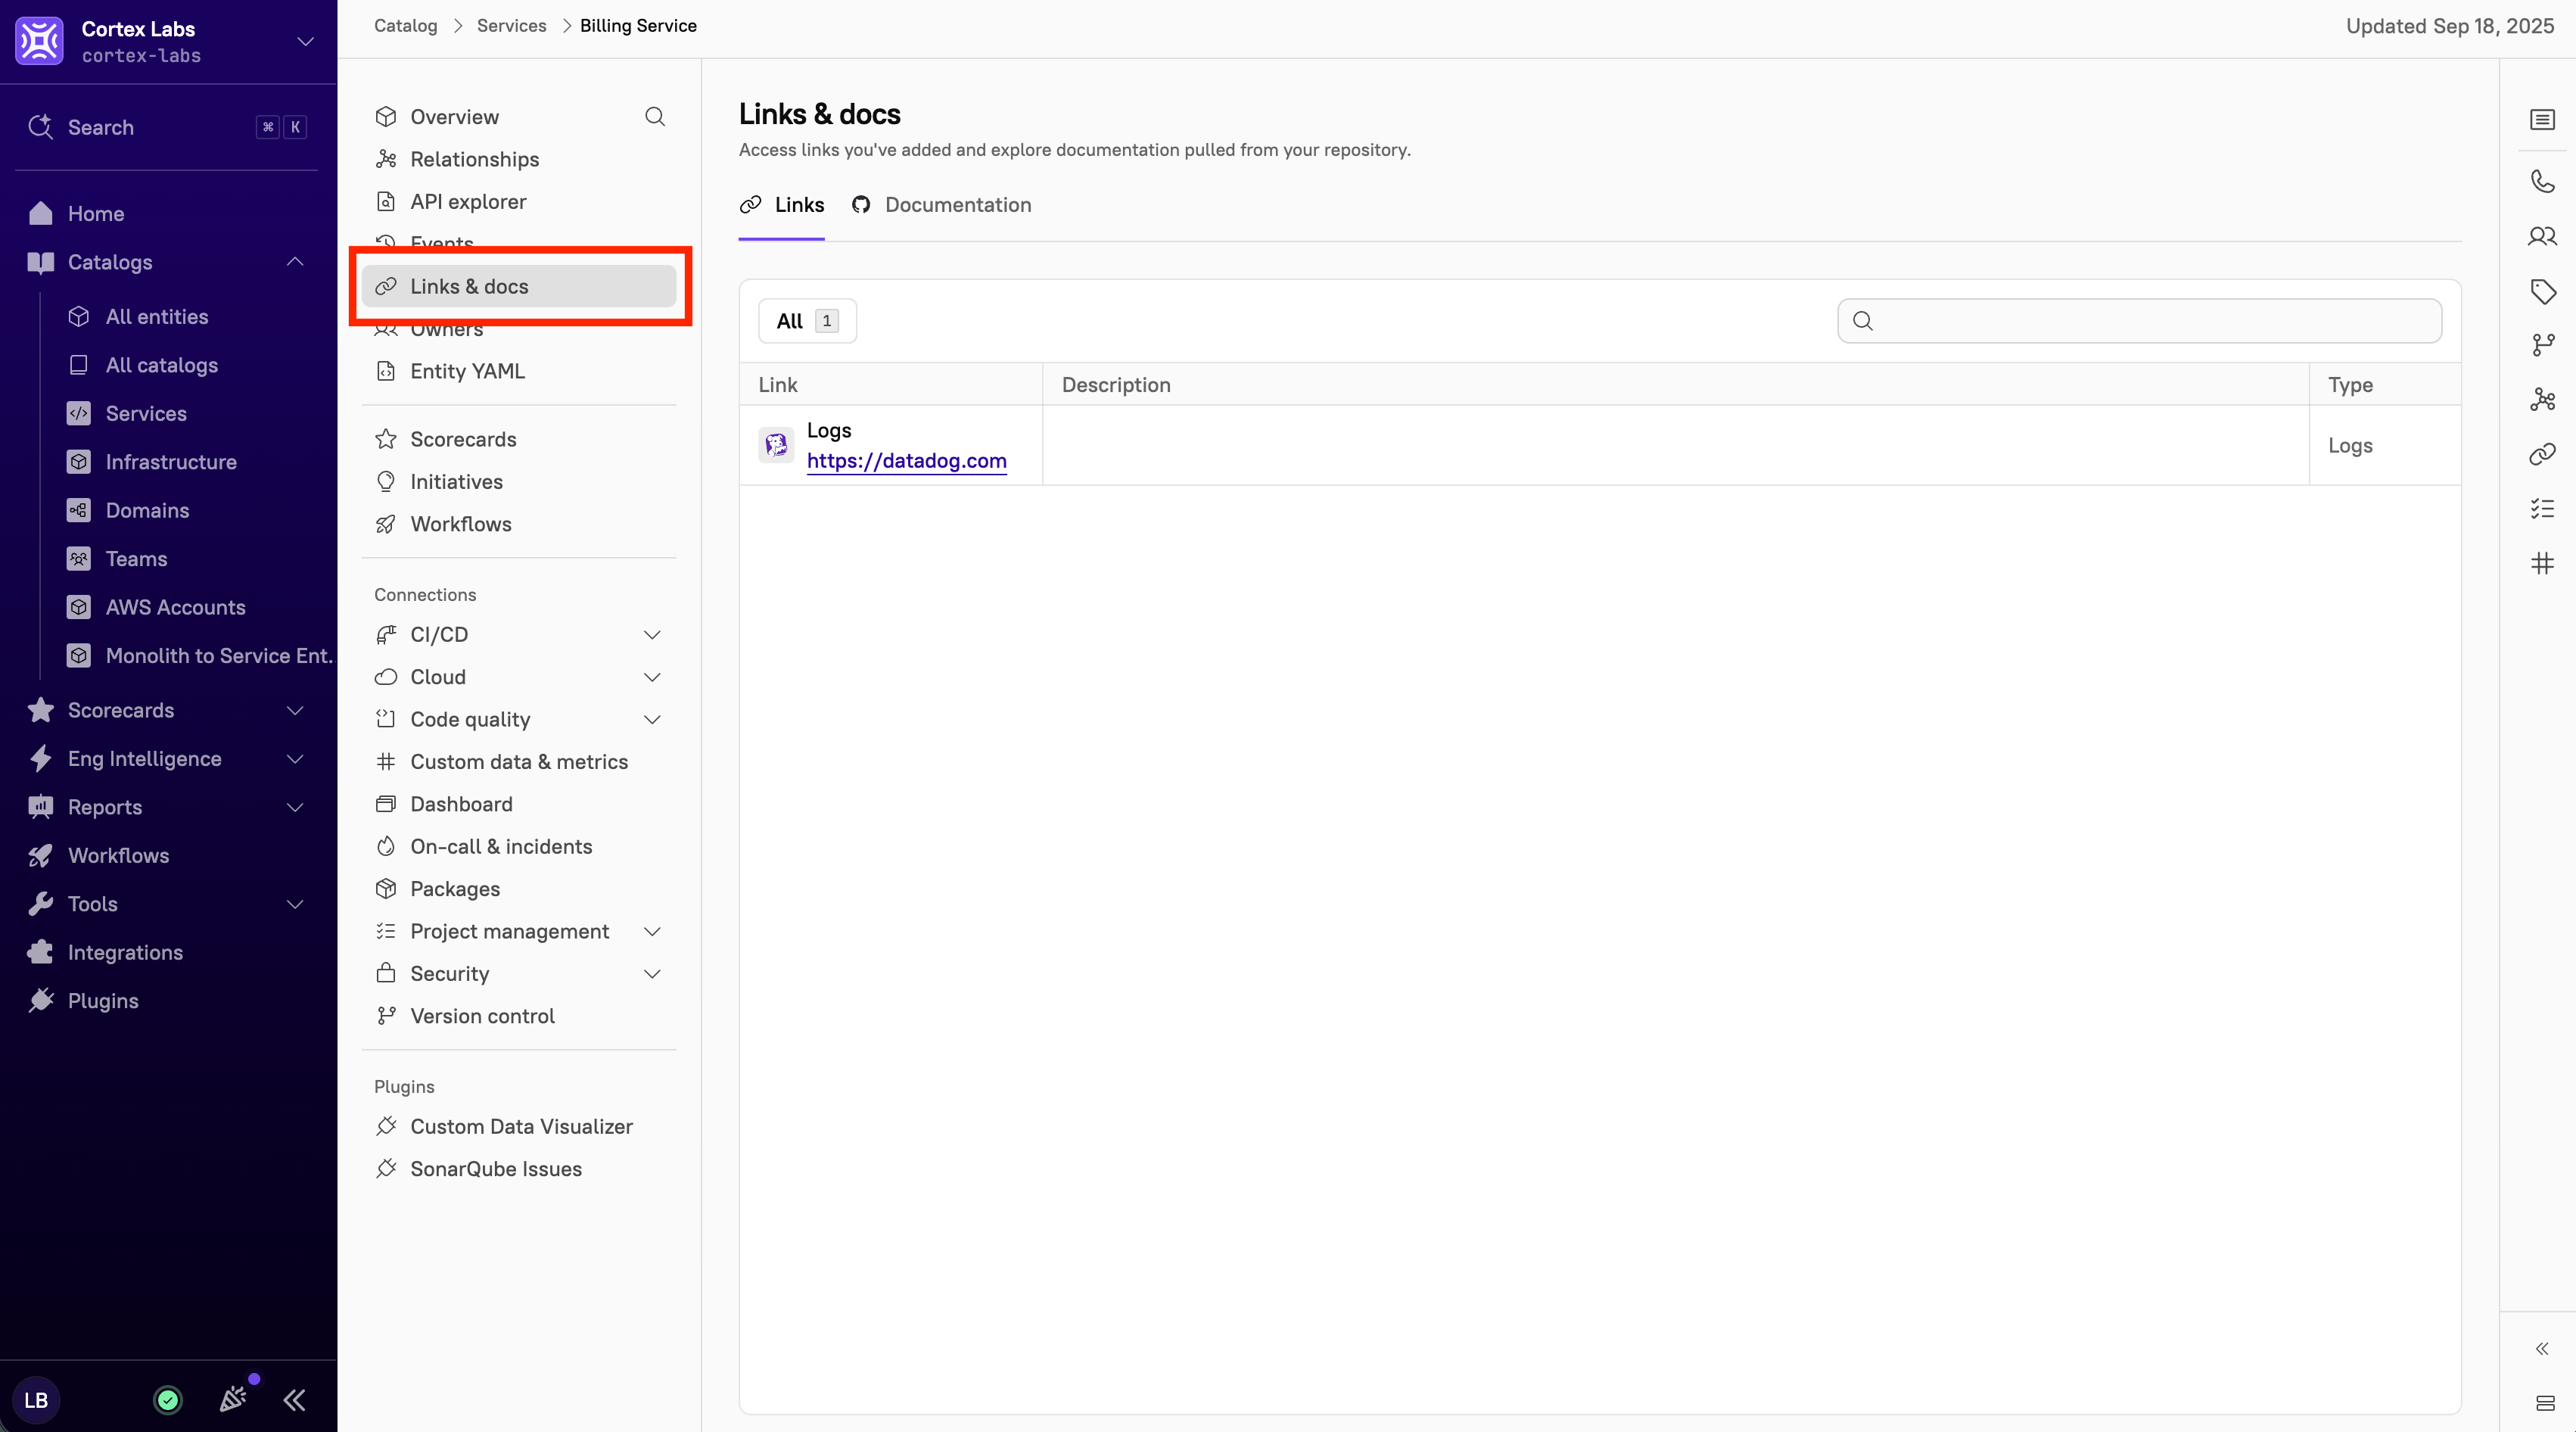
Adding links to an entity
Adding links via the Cortex UI
Prerequisites
Before editing an entity via the UI, make sure that UI editing is enabled.- Navigate to the entity’s details page.
- In the upper-right corner, click Configure entity.
-
In the entity’s left sidebar, click Links.
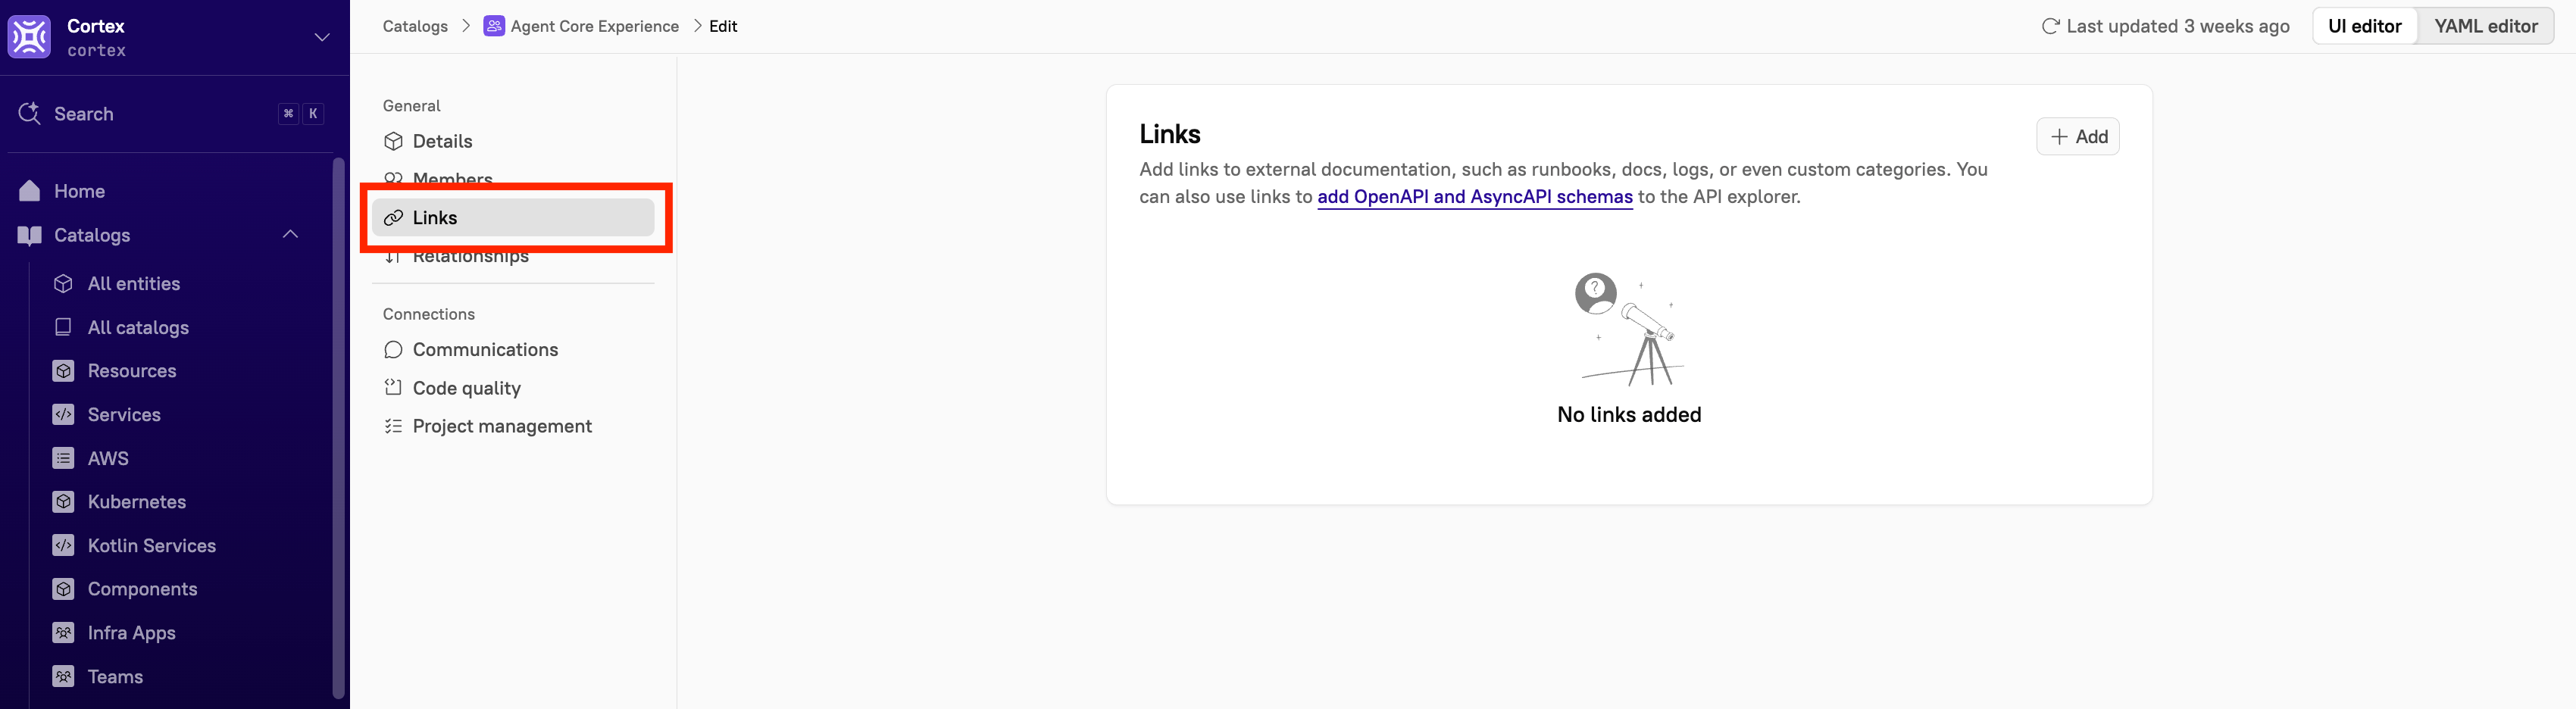
- Click +Add.
-
In the Link side panel, do the following:
- From the Type drop-down menu, select the type of link.
- To create a new type of link, enter the name into the Search items field, then click Add new [link type name]. The link type is created and applied to the entity.
- Under Name, enter a name for the link.
- Under URL, enter the URL.
- Under Description, enter a description of the link.
- From the Type drop-down menu, select the type of link.
- Click Add.
Adding links via an entity descriptor
In the entity descriptor, add a list oflink objects:
name, type, and url are required. The type value is freeform. Common examples include dashboard, documentation, healthcheck, logs, metrics, and runbook.
Adding git-driven Markdown docs to an entity
Cortex automatically detects and embeds markdown files from thedocs folder of your linked repository, or from the root directory. When relevant files are found, they appear under Links & docs in the entity’s left sidebar. Markdown is rendered using the React markdown library.
No configuration is required as this happens automatically when a repository is associated with the entity.
Adding API specs to an entity
Cortex renders OpenAPI/Swagger and AsyncAPI specs in a built-in API explorer on the entity details page. From the API explorer, you can also authorize your API and run queries directly. To access the API explorer:- Navigate to the entity’s details page.
-
In the left entity sidebar, click API explorer.
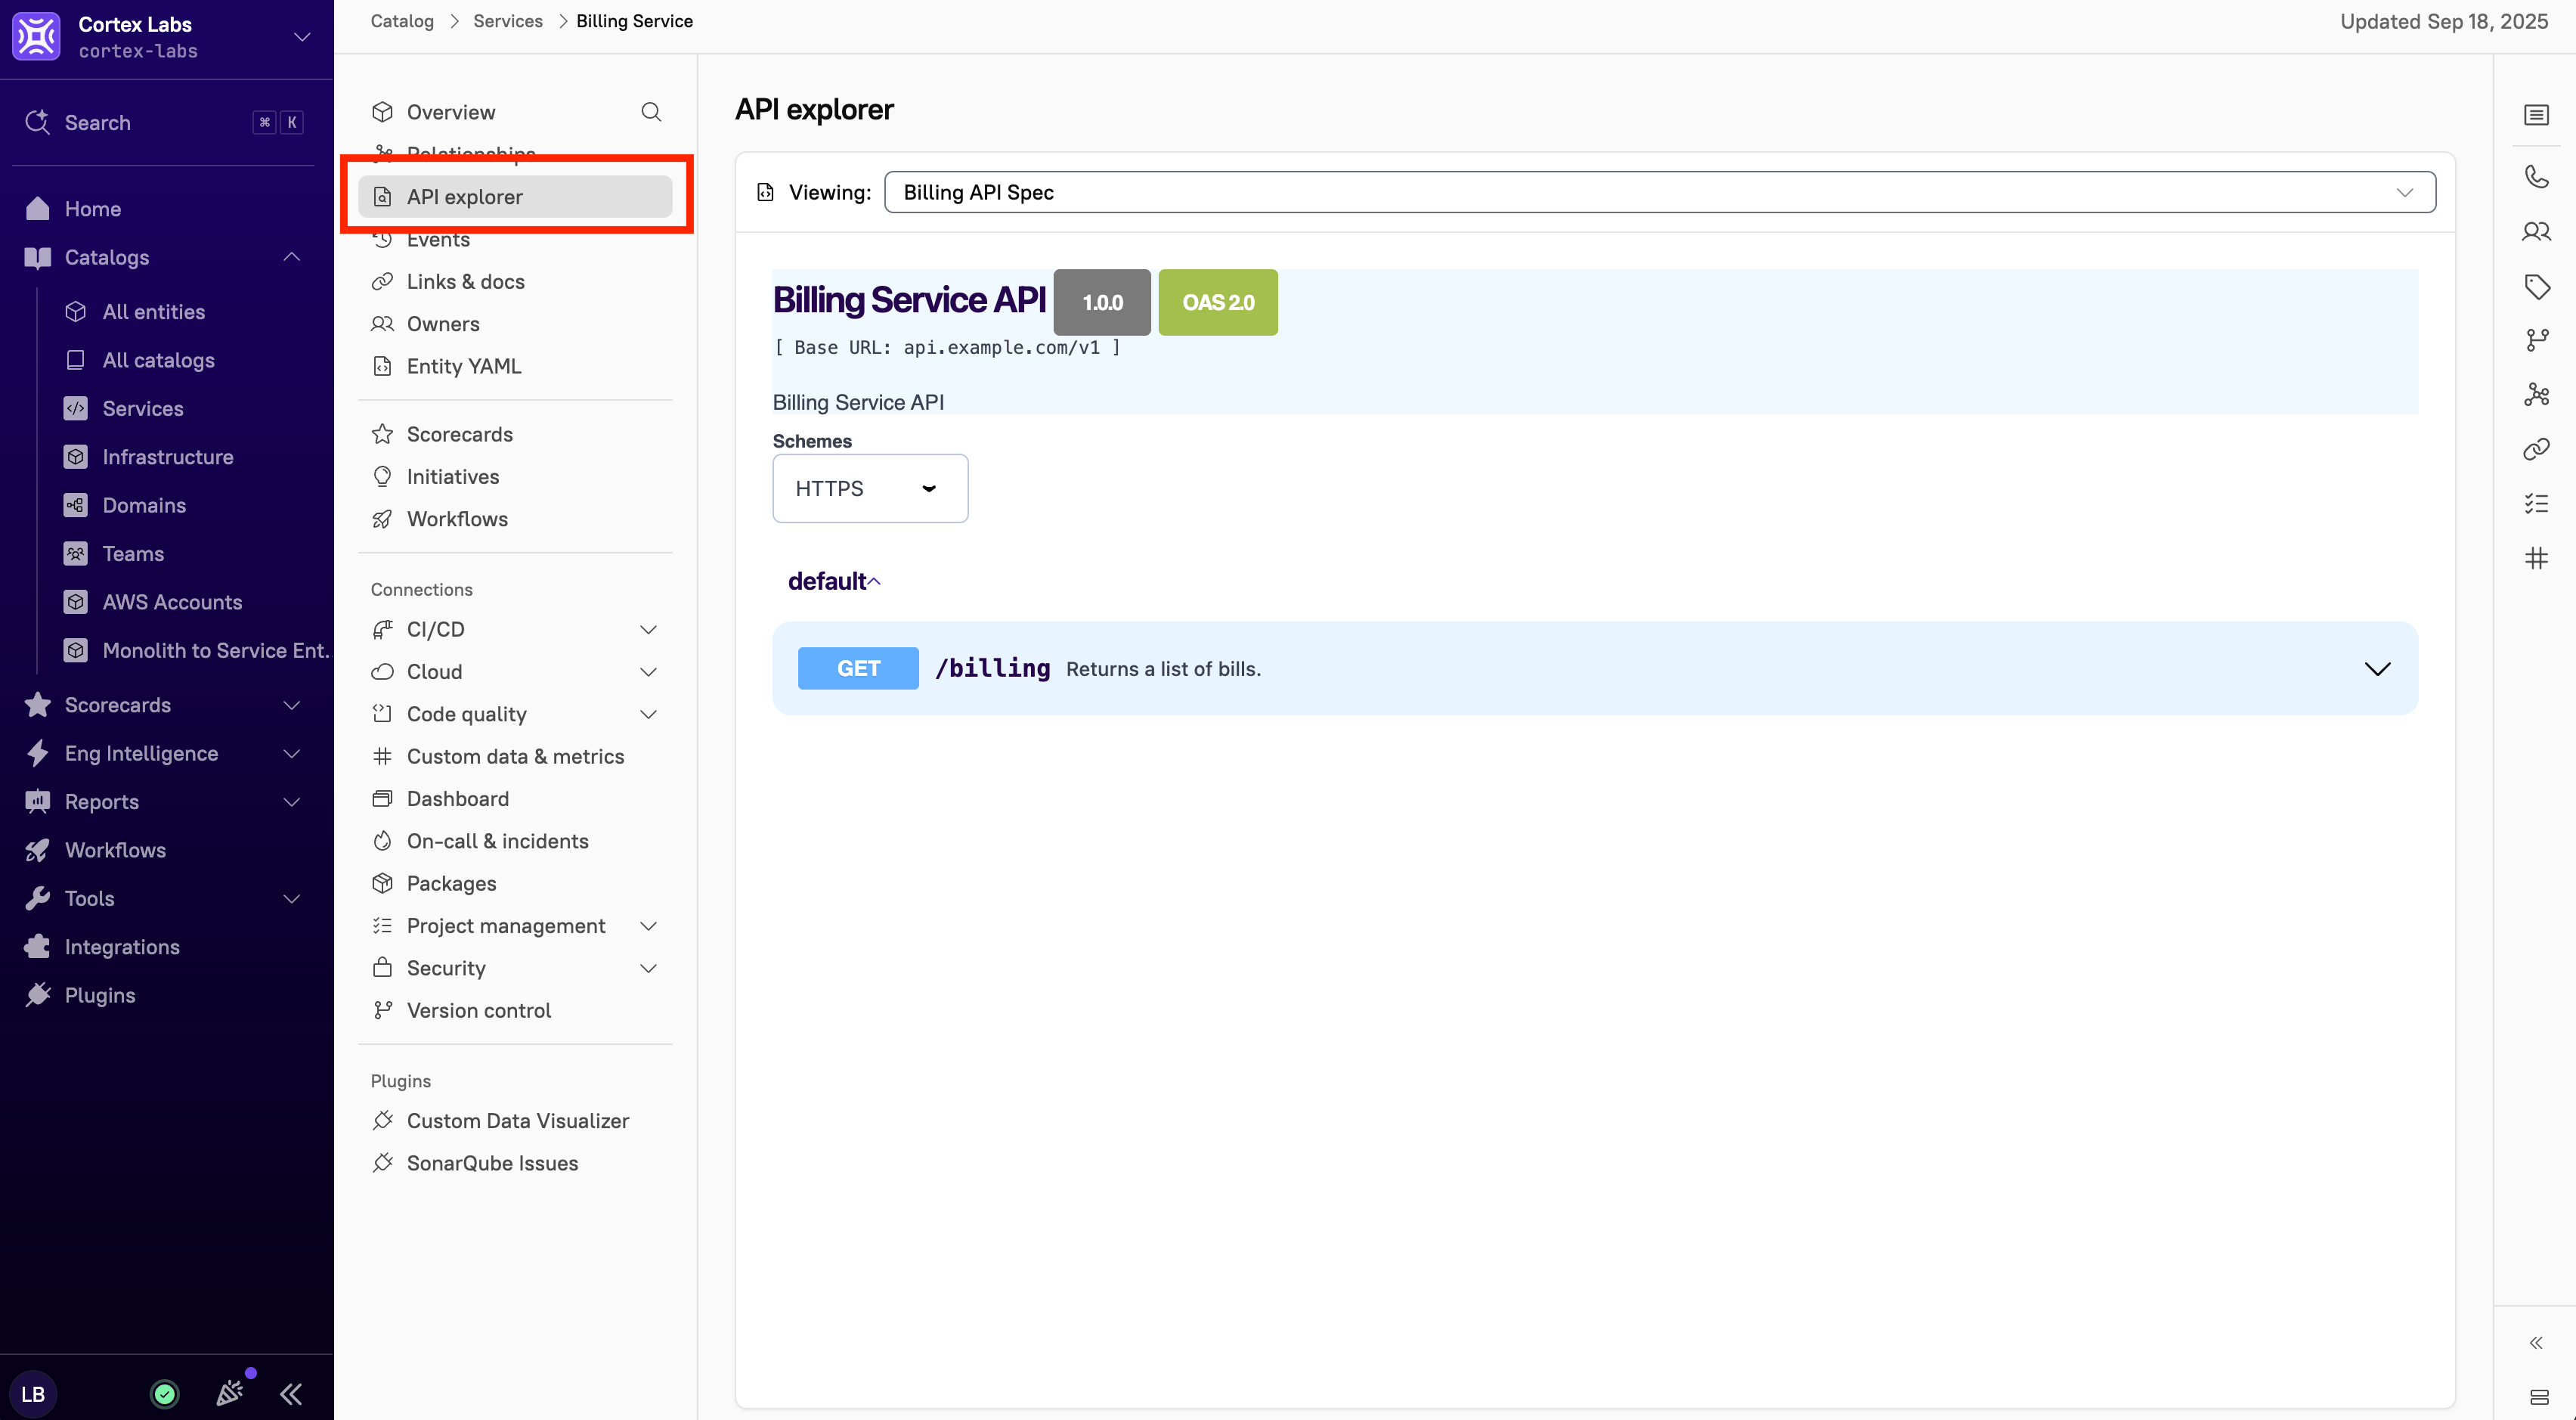
Adding OpenAPI docs
From an external URL
Add the spec URL to the entity descriptor with typeOPENAPI :
From your git repo (relative path)
From another git repo
You can reference specs in repos not associated with the entity, using the formatprovider:org/repo:path/to/file. To target a specific branch, use provider:org/repo:branch:path/to/file. If branch is omitted, the repo’s default branch is used.
Via the Cortex API
Send your OpenAPI JSON or YAML to the endpointPOST /api/v1/catalog/documentation/openapi, using your entity’s Cortex tag. One API doc per entity can be uploaded. It will appear automatically as an API doc entry in the API explorer dropdown.
The request body is JSON with a single field:
To convert a YAML or JSON file to a string, you can use
jq:
Adding AsyncAPI docs
Add AsyncAPI specs from an external URL or a path within your git repository, using typeASYNC_API:
Adding embedded dashboards to an entity
Cortex supports embedding individual charts from Datadog, Grafana, New Relic, or any other source that provides an iframe embed URL. Embedded charts appear on the Dashboard page in the entity’s left sidebar.typeis optional. Accepted values aredatadog,grafana, andnewrelic.- Content from sources other than Datadog, Grafana, or New Relic is supported. Omit the
typefield, and ensure the URL is publicly accessible or supports cross-platform authentication. For example, content accessible via VPN displays in Cortex when you’re on the VPN.
- Content from sources other than Datadog, Grafana, or New Relic is supported. Omit the
urlis thesrcvalue from the iframe embed generated by your dashboard tool, not the dashboard’s browser URL.- The URL must be publicly accessible, or accessible via the same VPN your browser is on.
You can embed individual charts only, not full dashboards. If you’re using Grafana and seeing embed errors, verify that embedding is enabled in your Grafana instance.
Accessing docs via Slack
If you have the Slack integration configured, you can look up an entity’s documentation links without leaving Slack. Mention@Cortex in a channel or direct message and ask a question like “Where are the docs for payments-api?”.
For setup and usage details, refer to Using the AI assistant.